
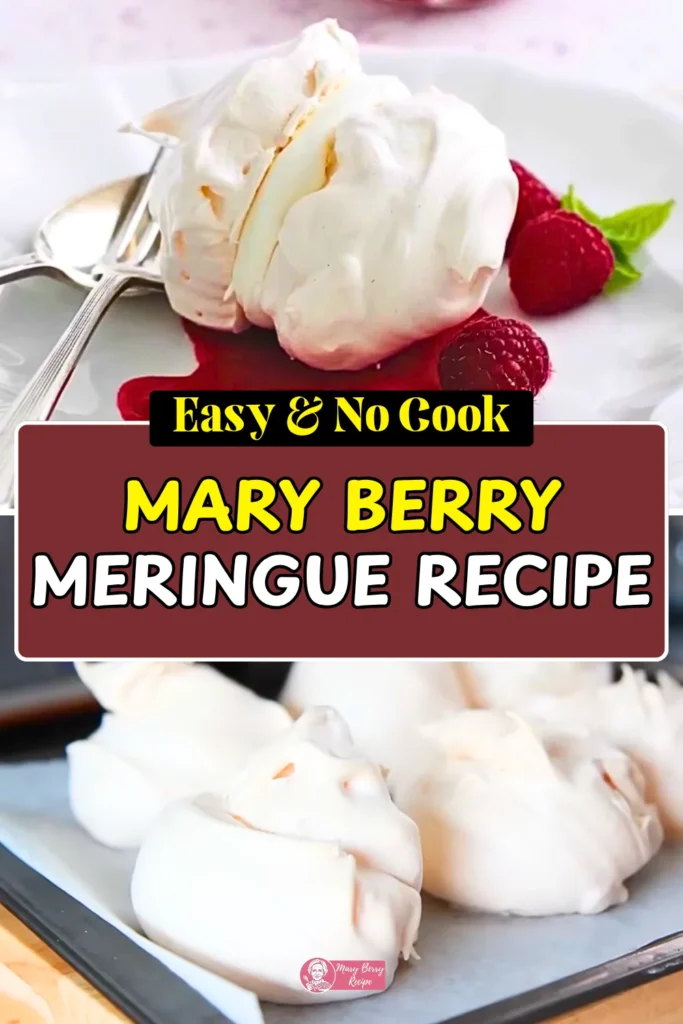
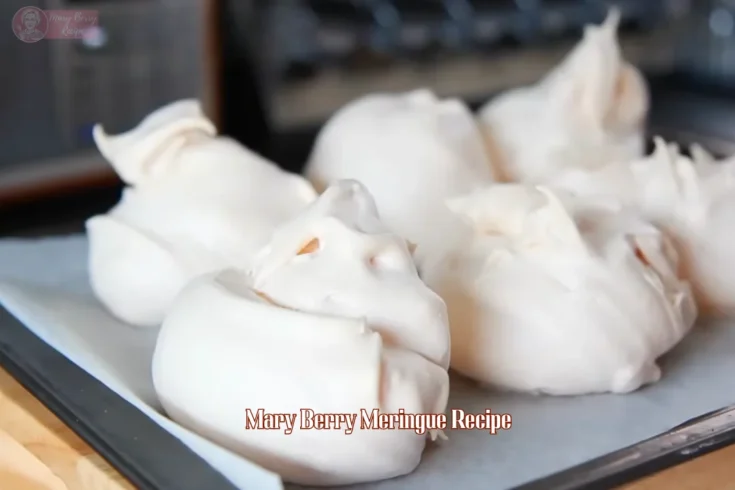
Mary Berry Meringue Recipe (Just 2 Ingredients, Perfect Every Time)
My go-to sweet treat is this Mary Berry Meringue Recipe, because it turns two plain egg whites into something that looks special. I make it when I want a dessert that feels light, with that clean snap when you bite in.
The outside bakes crisp, and the middle stays a little soft, like marshmallow. It’s great for cookouts and holidays, but I also make a small batch on a regular weeknight.
Meringue has been around for ages, and it’s popular for a reason. With caster sugar, egg whites, and a steady whisk, you get glossy peaks that bake into neat meringue nests.
After that, you can keep it simple or build a pavlova-style dessert with fruit, lemon curd, or a drizzle of chocolate. I like it because it’s cheap, it’s fun, and kids can help shape the nests without too much fuss.
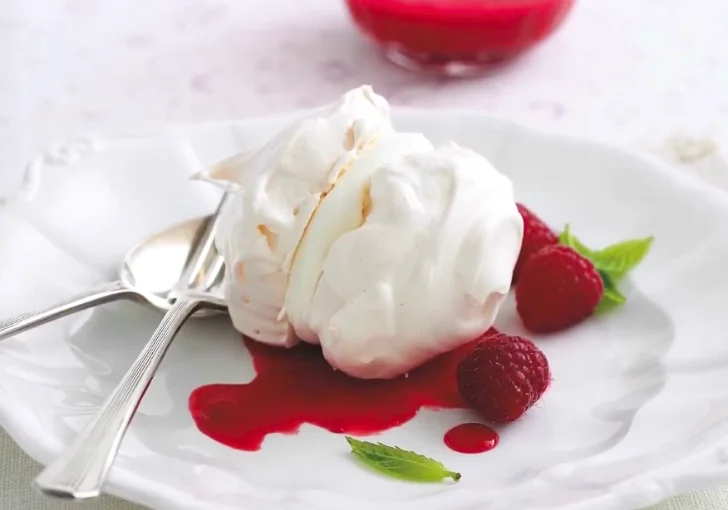
Top yours with whipped cream and strawberries, then add a little extra fruit on the side. Or crush a nest into a bowl with berries and cream for an easy Eton mess you can eat with a spoon.
What is Meringue?
Meringue is whipped egg white and sugar baked low and slow until it dries into a crisp shell. That’s the heart of it. When you whisk egg whites, you trap air inside them.
When you add sugar slowly, the mixture turns glossy and holds its shape. Then the oven does the gentle drying job.
In the UK, we tend to meet meringue as nests topped with cream and fruit, or crushed into a mess with berries.
In other places you’ll see it piled high on lemon pie, or used as the base for fancy patisserie. But the basic idea stays the same: air + sugar + a little patience.
Why You’ll Love This Mary Berry Meringue
This one hits the sweet spot: simple method, reliable results, and that clean, classic taste.
- Tiny ingredients list. Just egg whites and caster sugar, so you’re not hunting round the shops.
- Crisp outside, light inside. The slow bake gives you that snap when you bite, then it melts a bit.
- Looks neat without fuss. Spoon it into nests and it still comes out pretty.
- Easy to dress up. Add cream, fruit, lemon curd, chocolate… you get the idea.
- It’s a confidence builder. If you’ve ever had meringue flop on you, this method gets you back on track.
I like it because it’s calm baking. No rushing. No stress. Just whisk, shape, and let the oven do its thing.
Perfect For
- Sunday afternoon tea — pile them up on a nice plate with some clotted cream and strawberries. Lovely.
- Last-minute pudding — when you’ve got people coming round and need something quick but impressive.
- Using up leftover egg whites — made a custard or carbonara? Don’t chuck those whites away.
- Bake sales and school fairs — they look brilliant, travel well, and everyone loves them.
- A rainy weekend baking session — stick the oven on low and have a cuppa while they bake.
- Homemade gifts — pop them in a nice box with some tissue paper and you’ve got a proper thoughtful present.
Mary Berry Meringue Ingredients
2 large egg whites — the base of the whole recipe. Make sure there’s no yolk mixed in or the whites won’t whip up properly. Room temperature eggs work best for getting more volume.
100g caster sugar — gives the meringue its sweetness and structure. Caster sugar dissolves quicker than granulated, which helps you get that smooth, glossy finish without any grittiness.
Ingredients Substitutions & Variations
- Caster sugar → fine granulated sugar: Works if it’s fairly fine; whisk a bit longer so it dissolves well. Avoid very coarse sugar.
- Make it vanilla: Add ½ tsp vanilla extract right near the end of whisking (don’t splash it in early).
- Make it lemony: Fold in a tiny pinch of finely grated lemon zest at the end for a fresh smell.
- Chocolate ripple: Sift 1 tsp cocoa over the finished whisked meringue and gently swirl once or twice. Don’t overmix.
- Mini meringue kisses: Pipe or spoon small blobs and reduce bake time slightly (start checking from 35–40 minutes).
- Chewy centre style: Bake a touch less so the middle stays softer, but keep the outside dry and crisp.
How To Make Mary Berry Meringue
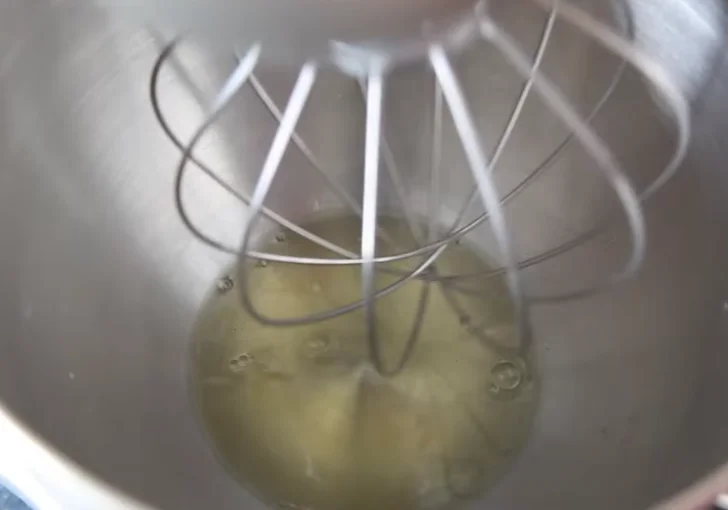
Step 1: Prepare the Egg Whites
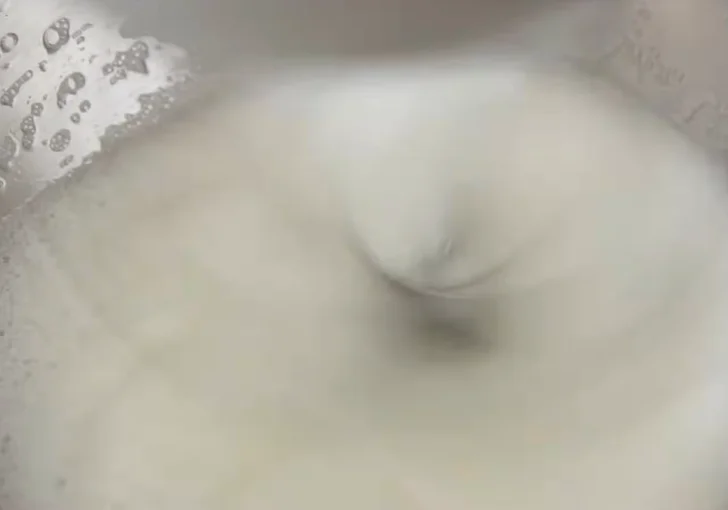
Place the egg whites into a clean mixing bowl. Whisk at high speed using an electric hand whisk or mixer until the mixture becomes light, airy, and forms soft, fluffy peaks. The texture should look foamy and increased in volume.
Step 2: Incorporate the Sugar
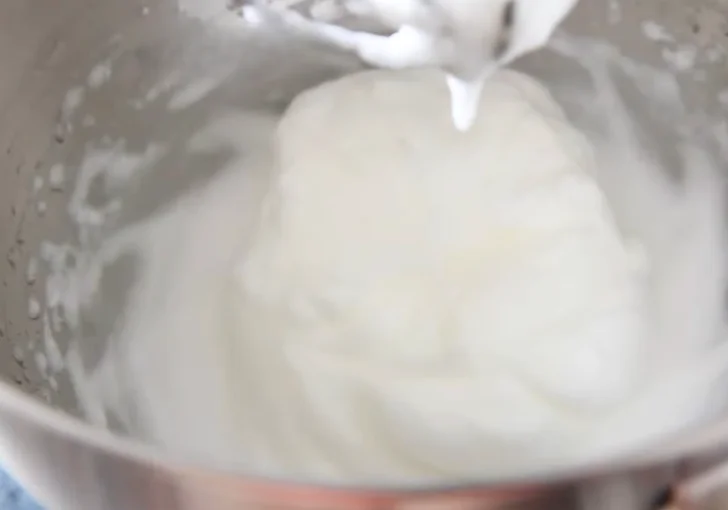
Begin adding the caster sugar gradually, a little at a time, while continuing to whisk. Keep the whisk running continuously to ensure the sugar dissolves properly into the egg whites. Continue whisking until the mixture turns thick, smooth, and glossy.
Step 3: Achieve Stiff Peaks
Continue whisking until stiff peaks form. The mixture should hold its shape firmly when the whisk is lifted, with a glossy, stable consistency that does not collapse.
Step 4: Prepare the Tray
Line a baking tray with greaseproof or parchment paper. This prevents sticking and helps maintain the shape of the meringues during baking.
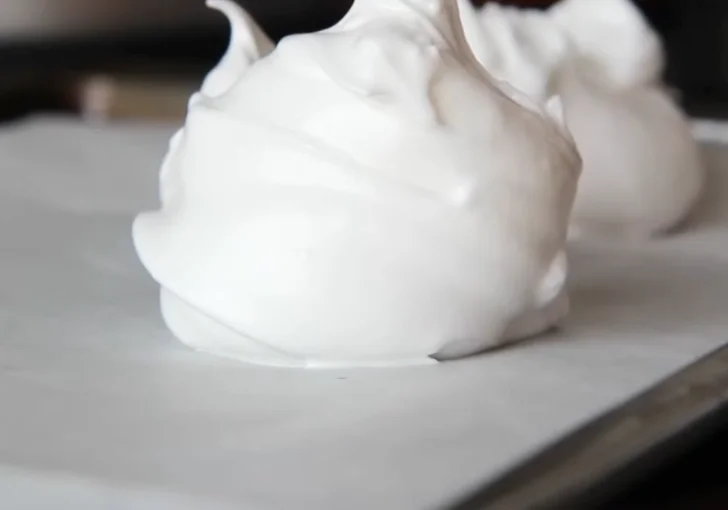
Step 5: Shape the Meringues
Spoon the mixture onto the prepared tray to form six evenly sized meringue nests. Leave space between each one, as they will expand slightly during baking.
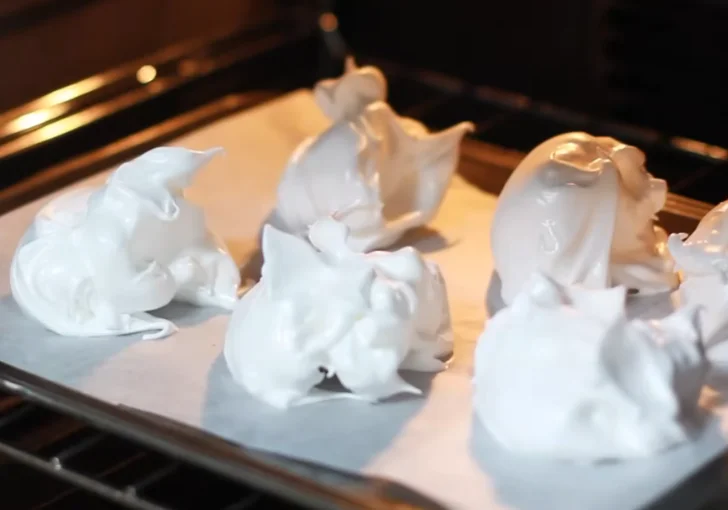
Step 6: Bake Slowly
Place the tray into a preheated oven at 130°C (fan 110°C). Bake for approximately 50 minutes, allowing the meringues to dry out slowly. They should begin to take on a pale golden colour.
Step 7: Cool Completely
Remove from the oven and leave the meringues on the tray until completely cooled. This allows them to firm up and develop their crisp exterior.
Recipe Tips & Notes for Mary Berry Meringue
- Clean bowl matters. Any grease stops egg whites whipping properly. If in doubt, wipe the bowl with a bit of lemon juice or vinegar, then dry it.
- Separate eggs carefully. Even a dot of yolk can ruin the whip. I crack each egg into a small bowl first, then tip the white into the mixing bowl.
- Go slow with sugar. This is where most first attempts go wrong. Slow additions make stable meringue.
- Check for gritty mix. If it still feels gritty, whisk a little longer. Undissolved sugar can cause weeping later.
- Leave them to cool. If you move them warm, they can crack or stick.
- Keep them dry. Humidity is not your mate here. Store away from steam, kettles, and open pans.
What to Serve with Mary Berry Meringue
These meringues are gorgeous on their own, but they’re even better with a few toppings. A big spoonful of whipped double cream sits perfectly in the centre of each nest.
Add a handful of fresh strawberries or raspberries on top and you’ve got yourself a proper pudding. Passion fruit is another brilliant option — cut one in half and scoop the seeds straight over the cream.
The sharpness balances out the sweetness of the meringue really well. If you’re feeling a bit fancy, drizzle some lemon curd or melted dark chocolate over the top.
For something a bit more indulgent, crush a few meringues up and fold them into whipped cream with berries to make an Eton mess.
Mistakes To Avoid While Making Mary Berry Meringue
- Greasy bowl or utensils — even a tiny trace of fat will stop the whites from whipping. Always clean your bowl and whisk thoroughly before starting.
- Adding sugar too fast — tip it in gradually. Rushing this step means the sugar won’t dissolve properly and your meringue will be grainy.
- Opening the oven door mid-bake — the sudden temperature change can make your meringues crack or collapse. Leave them be.
- Under-whisking the mixture — if the peaks aren’t stiff enough, the meringues won’t hold their shape in the oven.
- Skipping the cooling stage — taking them out too quickly leads to cracking. Let them cool slowly inside the oven.
- Using granulated sugar — it’s too coarse and won’t dissolve properly. Always use caster sugar for smooth results.
How Long Does Mary Berry Meringue Keep
Once the meringues are fully cool, keep them in an airtight tin at room temperature. They stay crisp for about 3–5 days, sometimes a bit longer if your kitchen is cool and dry.
If the weather is damp, they can soften quicker, so don’t leave them out on a plate. I don’t store plain meringue in the fridge because it pulls in moisture and goes sticky.
If you’ve topped them with cream and fruit, treat them like a fresh dessert and eat them the same day. They’re best within a few hours once dressed.
Mary Berry Meringue Recipe FAQs
Can I make meringues without an electric whisk?
You can, but it’ll take a lot of elbow grease. Whisking egg whites by hand with a balloon whisk is possible, but it takes much longer to reach stiff peaks. An electric hand whisk or stand mixer makes the job so much easier and gives more consistent results. If you do go manual, expect at least 15 to 20 minutes of solid whisking.
Why did my meringues crack?
Cracking usually happens because of a sudden change in temperature. If you open the oven door during baking or take the meringues out too quickly, the outside cools faster than the inside and cracks form. The best way to avoid this is to let them cool slowly inside the oven with the door slightly ajar after baking.
Can I use granulated sugar instead of caster sugar?
It’s not recommended. Granulated sugar has larger crystals that don’t dissolve as easily into the egg whites. This can leave your meringue feeling gritty instead of smooth. Caster sugar is finer and dissolves much better, giving you that glossy, silky finish you’re after.
Why are my meringues sticky on the outside?
Sticky meringues are usually caused by humidity or under-baking. Meringues absorb moisture from the air, so if you’re making them on a damp day, they can turn tacky. Make sure you bake them long enough and store them in an airtight container straight away once cooled.
Can I add food colouring to the meringue mixture?
Yes, you can. Gel food colouring works best because it doesn’t add extra liquid to the mixture. Add just a tiny amount after you’ve reached stiff peaks and fold it in gently. You can swirl it through for a marbled effect or mix it in fully for an even colour.
How do I know when the meringues are done?
They should feel firm and dry to the touch on the outside. They’ll also lift off the parchment paper easily without sticking. The colour should be very pale — almost white with just the faintest hint of golden. If they’re still soft or sticky underneath, they need more time.
Mary Berry Meringue Recipe
This Mary Berry Meringue Recipe is hands down one of the easiest homemade meringue recipes I've ever made. With just two ingredients — egg whites and caster sugar — you get beautifully crisp meringue nests that are soft and gooey on the inside. It takes roughly 15 minutes to prep and 50 minutes of slow baking, so it's a brilliant beginner-friendly bake. I've made these easy meringues so many times now and they turn out perfect every single batch. Pile yours high with whipped cream and fresh berries for a stunning light dessert any time of year.
Ingredients
- 2 large egg whites
- 100g caster sugar
Instructions
- Prepare the Egg Whites: Place the egg whites into a clean, grease-free mixing bowl and whisk at high speed using an electric hand whisk or mixer until the mixture becomes light, airy, and forms soft, fluffy peaks with increased volume.
- Incorporate the Sugar: Begin adding the caster sugar gradually, a little at a time, while whisking continuously so it dissolves properly into the egg whites, continuing until the mixture turns thick, smooth, and glossy.
- Achieve Stiff Peaks: Continue whisking until stiff peaks form, where the mixture holds its shape firmly when the whisk is lifted and has a stable, glossy consistency that does not collapse.
- Prepare the Tray: Line a baking tray with greaseproof or parchment paper to prevent sticking and to help the meringues keep their shape during baking.
- Shape the Meringues: Spoon the mixture onto the prepared tray to form six evenly sized meringue nests, leaving space between each one as they will expand slightly in the oven.
- Bake Slowly: Place the tray into a preheated oven at 130°C (fan 110°C) and bake for about 50 minutes, allowing the meringues to dry out slowly until they begin to take on a pale golden colour.
- Cool Completely: Remove from the oven and leave the meringues on the tray until completely cooled so they firm up and develop a crisp exterior.
Nutrition Information:
Serving Size:
1 meringue nestAmount Per Serving: Calories: 72
If you want a bake that feels classic, light, and a bit special, this mary berry meringue recipe is a brilliant one to keep close.
It uses everyday ingredients, it doesn’t take ages, and it gives you that crisp-and-cloudy bite that people love.
Make the nests, let them cool, then top them how you like. If you give it a go, come back and tell me how yours turned out, and what you served them with.