
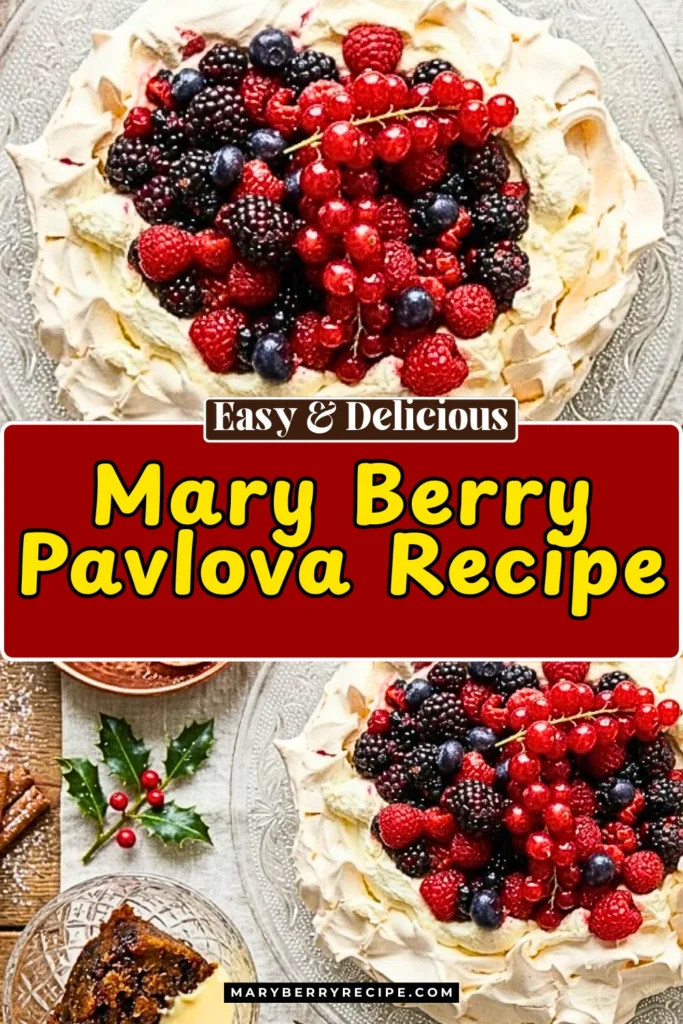
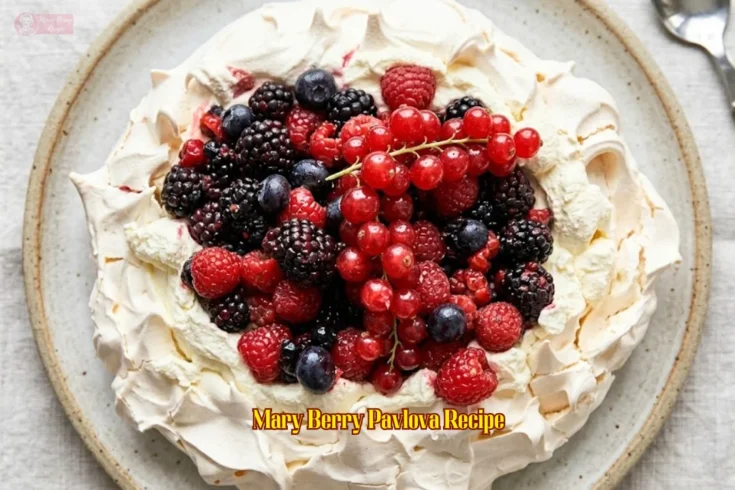
Mary Berry Pavlova Recipe (Better Than Anything From a Shop)
This Mary Berry Pavlova Recipe is one of those proper showstopper desserts that never fails to impress. This berry pavlova recipe has that crisp shell, soft middle, and a bright berry topping that always looks stunning on the table. It is light, sweet, and a little sharp from the fruit.
Pavlova first came from Australia and New Zealand, named after the dancer Anna Pavlova. It became popular here in the UK because we love a good meringue dessert, and this one feels fresh and not too heavy.
I like it because it uses basic ingredients like egg whites, sugar, cream, and berries.
Nothing fancy. Just good food. I learnt to make this pavlova from my aunt who always make amazing dishes on holidays.
So, Today I’m sharing this Mary Berry pavlova recipe which you can make at any holidays from Thanksgiving to Christmas and new year party.
Should You Make Your Pavlova Mix or Buy Pre-Made
Homemade pavlova beats store bought every single time — if taste is what you’re after. Store bought is fine when you’re genuinely pressed for time. I tried both back to back in my kitchen.
Honestly, the gap between them was bigger than I expected. With my stand mixer, the homemade version came out with that gorgeous crispy shell and a soft, chewy centre. The store bought one just couldn’t get there.
Whenever I’m making a copycat of Mary Berry’s pavlova, fresh ingredients and my stand mixer is the only way I go.
Why This Mary Berry Pavlova Is a Crowd-Pleaser
Crisp outside, soft centre: The shell stays light and crunchy while the middle stays fluffy and marshmallow-like. That texture makes every bite feel special.
Fresh berry flavour: I love how the sharp berries balance the sweet meringue so it never feels too heavy.
Looks impressive: It sits beautifully on the table and always gets attention, even though the method is quite simple.
Great for make-ahead baking: You can prepare the pavlova base earlier in the day and finish it later.
Perfect for summer desserts: The fresh fruit and cream make it feel light and bright after dinner.
Easy to change: You can swap berries or add your own toppings without ruining the recipe.
Mary Berry Pavlova Ingredients
For the Pavlova
3 large fresh egg whites – Fresh egg whites whip up better and give the pavlova that light and fluffy middle. I normally use large free-range eggs from Tesco or Sainsbury’s because they seem to hold more air and make the meringue more stable while baking.
175g caster sugar – Caster sugar melts into the egg whites much easier than granulated sugar. It helps create that glossy meringue with a crisp outside. I use Tate & Lyle caster sugar most times since it gives a smooth texture without any grainy bits left behind.
1 level tsp cornflour – Cornflour helps keep the middle soft and slightly marshmallowy instead of dry. Just a small spoonful makes a big difference in texture. I usually keep a box of Cornflour by Brown & Polson in the cupboard because it works really well in baking.
1 tsp white wine vinegar – White wine vinegar helps stabilise the meringue and keeps the centre soft once baked. The flavour disappears while cooking, so don’t worry about tasting it. Sarson’s white wine vinegar is the one I mostly grab since it’s easy to find in UK shops.
For the Berry Filling
225g blackcurrants, removed from the stalks – Blackcurrants bring a sharp and rich berry flavour that cuts through the sweetness nicely. Fresh ones work best during summer, though frozen ones are handy too. I like using British-grown blackcurrants when I can get them from the local market.
225g redcurrants, removed from the stalks – Redcurrants add a bright colour and slightly tart taste that balances the cream well. They also make the pavlova look more special on the table. I usually pick them up fresh from M&S or Waitrose when they’re in season.
Large handful blackberries – Blackberries give the topping a juicy texture and deeper fruity flavour. Wild blackberries taste lovely if you can find them, but supermarket ones work perfectly too. I sometimes use the sweeter packs from Aldi because they hold their shape quite nicely after cooking.
175g caster sugar – This extra sugar sweetens the berry filling without making it too heavy. It melts into the fruit juices and creates a glossy topping. I stick with caster sugar here because it blends faster and keeps the berry sauce smooth instead of gritty.
175g blueberries – Blueberries add sweetness and soften the sharper taste from the currants. They also hold their shape well in the topping. I often use Driscoll’s blueberries because they stay firm and juicy, especially when mixed into the cooled berry filling at the end.
Fresh raspberries, to finish – Fresh raspberries finish the pavlova with a soft texture and fresh flavour. I add them right before serving so they stay bright and don’t go mushy. British raspberries from the summer season always taste best and make the dessert look lovely too.
2–3 tbsp crème de cassis – Crème de cassis adds a rich berry depth and gives the fruit topping a fuller taste. Only a little is needed. I use whatever bottle I have at home, though Gabriel Boudier crème de cassis gives a really nice flavour in desserts like this.
For the Topping
Whipped double cream, enough to generously fill the centre – Double cream makes the pavlova feel rich and smooth while balancing the sharp berries. I whip it until soft and thick but not too stiff. Elmlea or Tesco Finest double cream both work nicely and spread easily across the middle.

How To Make Mary Berry Pavlova
Step 01 – Prepare the Oven and Tray
Preheat the oven to 140°C fan. Line a baking tray with baking paper and draw a 20cm circle as a guide for shaping the pavlova.
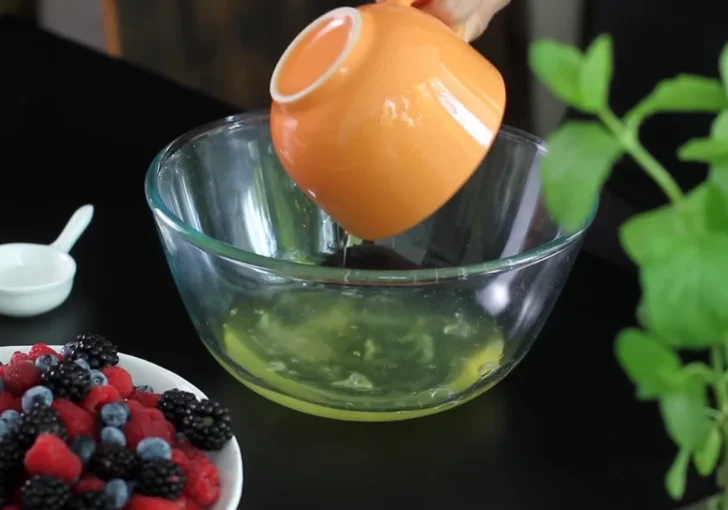
Step 02 – Separate the Eggs
Carefully separate the egg whites from the yolks. Make sure no yolk gets into the whites, as even a small amount can prevent the meringue from whisking properly. Fresh eggs work best for stability and volume.
Step 03 – Whisk the Egg Whites
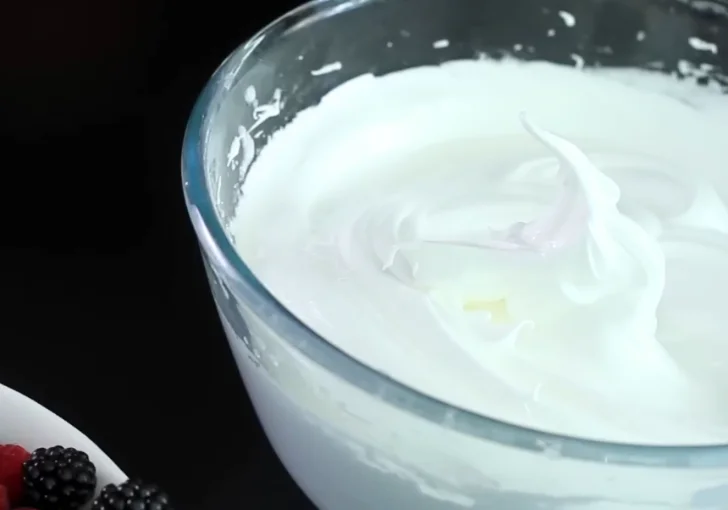
Whisk the egg whites at full speed until they become thick and cloud-like. The key is to incorporate as much air as possible. Continue whisking without reducing the speed.

Step 04 – Add the Sugar
Add the caster sugar one spoonful at a time while continuing to whisk at full speed. Allow each spoonful to dissolve before adding the next. Keep whisking until the meringue becomes very stiff and glossy. The mixture should hold its shape firmly when lifted.
Step 05 – Add the Cornflour and Vinegar
Mix the cornflour and white wine vinegar together in a small bowl until smooth. Fold this gently into the meringue mixture. This creates the soft marshmallow-like centre that gives pavlova its signature texture.
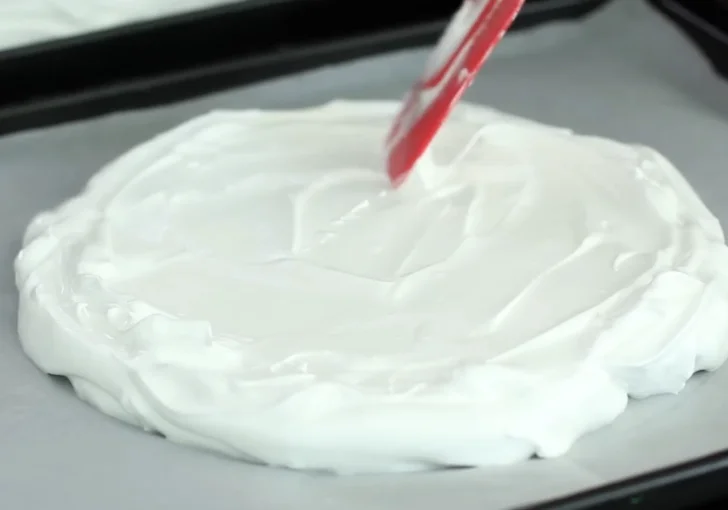
Step 06 – Shape the Pavlova
Spoon the meringue onto the prepared baking paper, keeping within the marked 20cm circle. Spread the mixture evenly and gently push it towards the edges. Create a slight hollow in the centre for the cream and fruit filling. Leave a few decorative peaks and swirls on the surface for a rustic finish.
Step 07 – Bake the Pavlova
Reduce the oven temperature from 140°C fan to 130°C fan before baking. Place the pavlova in the oven and bake for 1 hour. The outside should become crisp while remaining pale in colour.

Step 08 – Cool the Pavlova Slowly
Turn off the oven once the baking time is complete and leave the pavlova inside the oven to cool completely for 2–3 hours. Slow cooling helps prevent cracking and keeps the centre soft and marshmallowy.
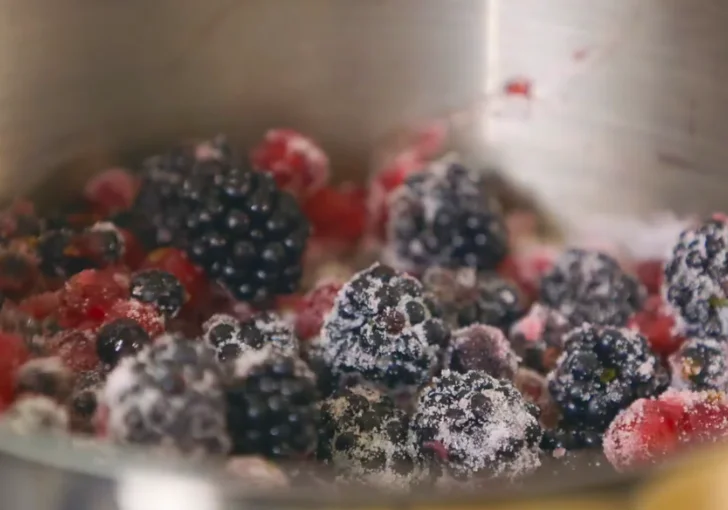
Step 09 – Prepare the Berry Filling
Place the blackcurrants, redcurrants and blackberries into a saucepan. Add the caster sugar and place over gentle heat. Stir carefully until the sugar fully dissolves.
Remove the pan from the heat and stir in the blueberries. Leave the mixture to cool completely before adding the raspberries so they keep their shape and freshness.
Stir in 2–3 tablespoons of crème de cassis for extra depth and richness.
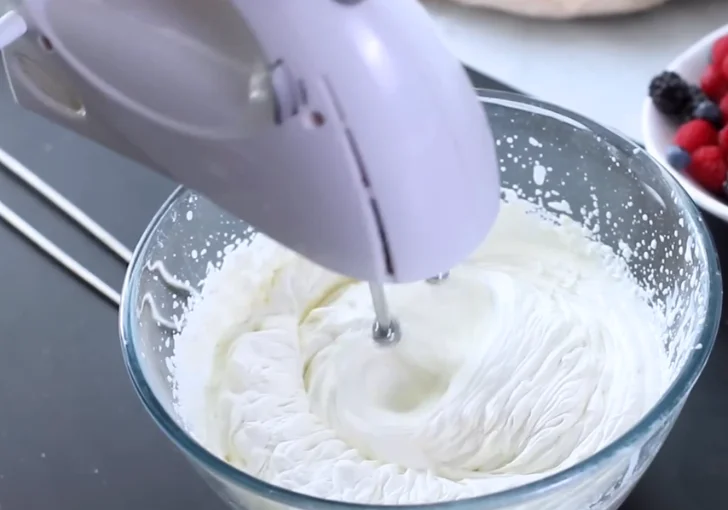
Step 10 – Whip the Cream
Whip the double cream until softly thickened. The cream should hold its shape while still looking smooth and light.
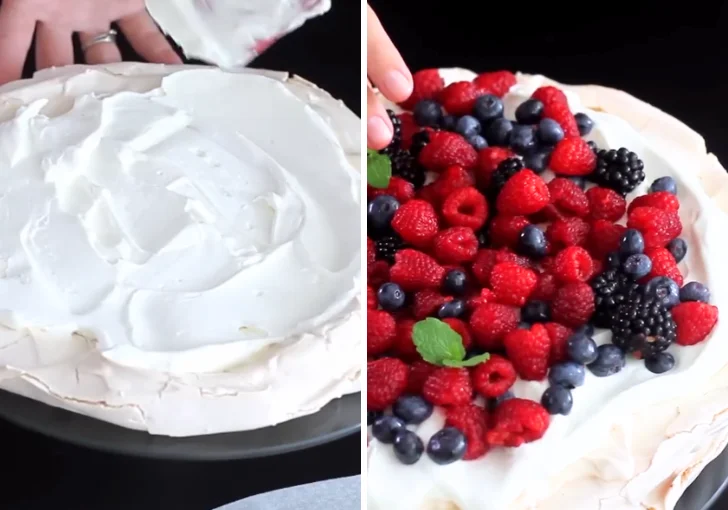
Step 11 – Assemble the Pavlova
Carefully place the cooled pavlova onto a serving plate. Spoon the whipped cream into the centre, spreading it right to the edges. This helps protect the crisp meringue from the fruit juices.
Top generously with the cooled berry mixture and finish with the raspberries.
Step 12 – Serve
Serve immediately once assembled for the best contrast between the crisp shell, marshmallow centre, soft cream and sharp berry topping. This pavlova works beautifully as a celebration dessert or summer centrepiece.
Practical Notes for Making Mary Berry’s Pavlova
- I always leave the egg whites out for 15 minutes first. Room temperature whites whisk up much bigger and give a lighter pavlova shell.
- Add the sugar slowly, one spoon at a time. Rushing this part can leave the meringue grainy instead of smooth and glossy.
- Make sure your bowl is fully clean and dry. Even a tiny bit of grease can stop the egg whites from whipping properly.
- Once the pavlova goes into the oven, I avoid opening the door. Cold air can make the shell crack too much or sink.
- Let the pavlova cool completely before adding cream. Warm meringue melts the topping and turns the middle soggy very fast.
- I always spoon the berries on right before serving. It keeps the shell crisp and stops the fruit juices soaking through.
- Don’t worry about a few cracks on top. Mine cracks a little nearly every time, and it still tastes absolutely lovely.
- Fresh berries really do make the biggest difference here. The flavour feels brighter and the pavlova looks much prettier on the table.
Toppings and Decorations for This Mary Berry Pavlova
I like decorating this pavlova differently depending on the season.
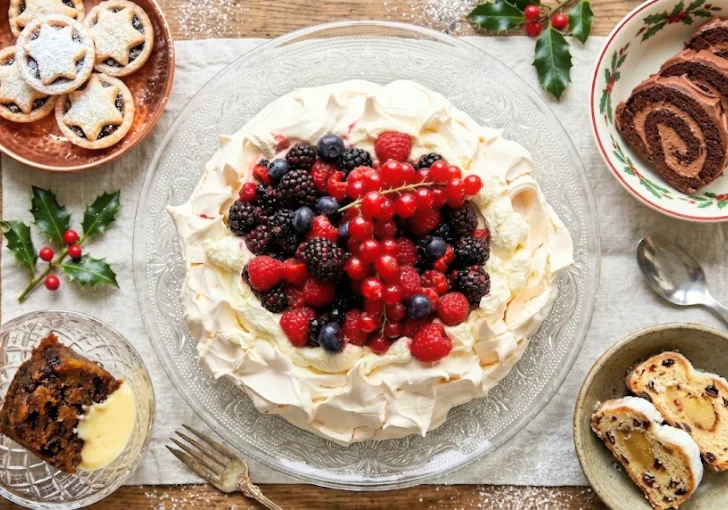
At Christmas, I scatter extra raspberries and dust a bit of icing sugar over the top so it looks snowy on the table. A few mint leaves also make it feel fresh and festive.
During summer, I add sliced strawberries, cherries and extra blueberries for more colour. Sometimes I drizzle a little berry syrup around the edge of the plate too. It makes the whole dessert look proper special without much effort.
For autumn weekends, I’ve added toasted almonds and a touch of dark chocolate shavings. That little crunch works really well with the soft cream.
Keep the toppings simple though.Too much can weigh the pavlova down and make it soggy quicker than you think.
How To Store Leftover
Store leftover pavlova in the fridge inside an airtight container. It stays best for around 1 to 2 days. The shell softens over time because of the cream and fruit, but it still tastes lovely. If possible, keep the meringue base separate until serving.
FAQs
Can I make the pavlova the day before?
Yes, you can make the pavlova shell a day ahead. I often do this when I want less stress before guests arrive. Keep the shell in an airtight container at room temperature and add the cream and berries just before serving.
Why did my pavlova crack?
Small cracks are very normal with pavlova. Big cracks usually happen from sudden temperature changes or cooling too quickly. Leaving it inside the oven after baking helps the shell cool slowly and stay more stable.
Can I freeze pavlova?
You can freeze the plain pavlova shell, but not with cream and fruit on top. Wrap it carefully in cling film and freeze for up to one month. Defrost it slowly before decorating and serving.
How do I know when the meringue is ready?
The meringue should look thick, glossy and stiff. When you lift the whisk, the mixture should hold firm peaks without collapsing. You should also not feel sugar grains if you rub a little mixture between your fingers.
Can I use frozen berries?
Yes, frozen berries work well in this recipe. Let them thaw slightly and drain extra liquid first so the topping does not become too watery. Fresh berries still give the nicest texture though.
Why is my pavlova chewy inside?
A soft marshmallow centre is actually part of a good pavlova. If it feels too chewy or sticky, it may need slightly longer baking or cooling time. Every oven behaves a bit differently.
Can I make mini pavlovas instead?
Yes, mini pavlovas are brilliant for parties or afternoon tea. Simply divide the mixture into smaller circles and reduce the baking time slightly. Keep an eye on them so they stay pale and crisp.
What cream works best for pavlova?
Double cream works best because it whips nicely and holds shape well. I avoid very light cream because it can become runny once the fruit is added on top.
Can I skip the crème de cassis?
Yes, you can leave it out if you prefer. The berry topping still tastes lovely without it. A splash of vanilla or lemon juice also works nicely if you want another flavour.
Why did my pavlova collapse?
Pavlovas sometimes sink a little as they cool, which is normal. A full collapse can happen if the egg whites were under-whisked or if the sugar did not fully dissolve while mixing.
Mary Berry Pavlova Recipe (Better Than Anything From a Shop)
Mary Berry Pavlova Recipe makes a crisp meringue shell with a soft marshmallow center, fresh berries, and whipped cream. I love how simple this homemade pavlova feels while still looking beautiful on the table. This easy berry pavlova recipe comes together with basic ingredients and clear steps, making it great for holidays, summer desserts, or weekend baking. Prep is simple, and the texture turns out light and airy with every bite. You can serve this Mary Berry pavlova with extra raspberries, hot tea, or a scoop of vanilla ice cream for an easy dessert everyone enjoys.
Ingredients
For the Pavlova
- 3 large fresh egg whites
- 175g caster sugar
- 1 level tsp cornflour
- 1 tsp white wine vinegar
For the Berry Filling
- 225g blackcurrants, removed from the stalks
- 225g redcurrants, removed from the stalks
- Large handful blackberries
- 175g caster sugar
- 175g blueberries
- Fresh raspberries, to finish
- 2–3 tbsp crème de cassis
For the Topping
- Whipped double cream, enough to generously fill the centre
Instructions
- Preheat the oven to 140°C fan. Line a baking tray with baking paper and draw a 20cm circle as a guide for shaping the pavlova.
- Carefully separate the egg whites from the yolks. Make sure no yolk gets into the whites, as even a small amount can prevent the meringue from whisking properly. Fresh eggs work best for stability and volume.
- Whisk the egg whites at full speed until they become thick and cloud-like. The key is to incorporate as much air as possible. Continue whisking without reducing the speed.
- Add the caster sugar one spoonful at a time while continuing to whisk at full speed. Allow each spoonful to dissolve before adding the next. Keep whisking until the meringue becomes very stiff and glossy. The mixture should hold its shape firmly when lifted.
- Mix the cornflour and white wine vinegar together in a small bowl until smooth. Fold this gently into the meringue mixture. This creates the soft marshmallow-like centre that gives pavlova its signature texture.
- Spoon the meringue onto the prepared baking paper, keeping within the marked 20cm circle. Spread the mixture evenly and gently push it towards the edges. Create a slight hollow in the centre for the cream and fruit filling. Leave a few decorative peaks and swirls on the surface for a rustic finish.
- Reduce the oven temperature from 140°C fan to 130°C fan before baking. Place the pavlova in the oven and bake for 1 hour. The outside should become crisp while remaining pale in colour.
- Turn off the oven once the baking time is complete and leave the pavlova inside the oven to cool completely for 2–3 hours. Slow cooling helps prevent cracking and keeps the centre soft and marshmallowy.
- Place the blackcurrants, redcurrants and blackberries into a saucepan. Add the caster sugar and place over gentle heat. Stir carefully until the sugar fully dissolves.
- Remove the pan from the heat and stir in the blueberries. Leave the mixture to cool completely before adding the raspberries so they keep their shape and freshness.
- Stir in 2–3 tablespoons of crème de cassis for extra depth and richness.
- Whip the double cream until softly thickened. The cream should hold its shape while still looking smooth and light.
- Carefully place the cooled pavlova onto a serving plate. Spoon the whipped cream into the centre, spreading it right to the edges. This helps protect the crisp meringue from the fruit juices. Top generously with the cooled berry mixture and finish with the raspberries.
- Serve immediately once assembled for the best contrast between the crisp shell, marshmallow centre, soft cream and sharp berry topping. This pavlova works beautifully as a celebration dessert or summer centrepiece.
Nutrition Information:
Serving Size:
1 sliceAmount Per Serving: Calories: 320Total Fat: 15gSodium: 45mgCarbohydrates: 42gSugar: 38g
This Mary Berry Pavlova Recipe is one of those desserts that looks grand but feels comforting and simple once you start making it.
The crisp shell, soft centre and fresh berry topping all come together beautifully. I’ve made it more times than I can count now, and it still gets plenty of smiles at the table.
Give it a go in your own kitchen and enjoy the process along the way.