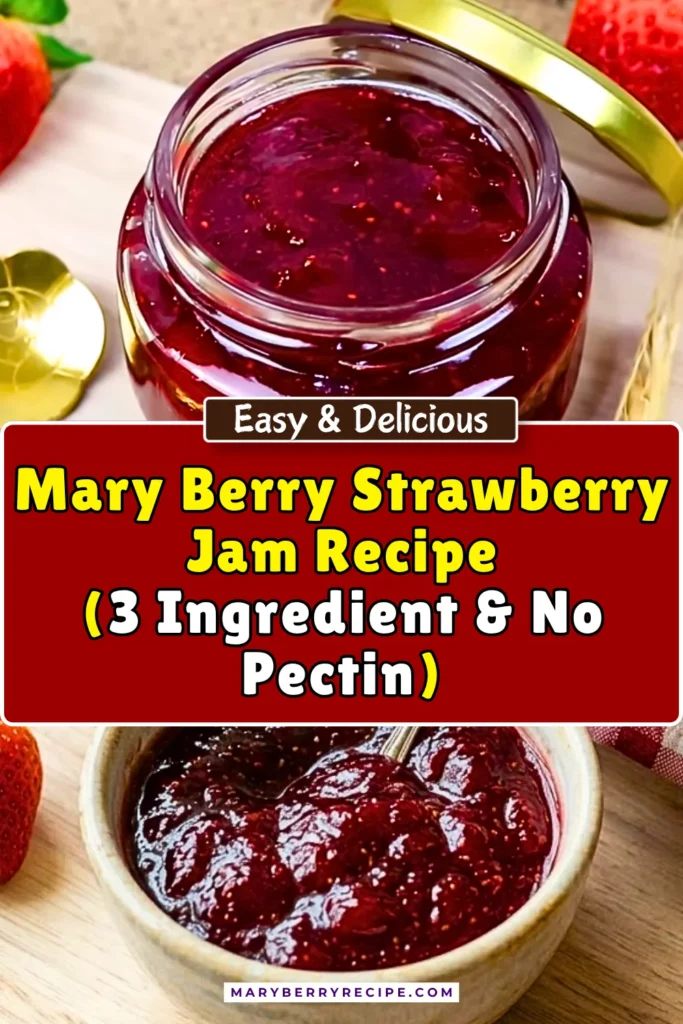
Mary Berry Strawberry Jam Recipe (3 Ingredient & No Pectin)
Today’s Mary Berry Strawberry Jam Recipe takes me straight back to the first time I watched Mary make it on television. What stayed with me was not just the strawberry jam recipe itself, but the little details she shared.
Using slightly underripe strawberries for a better set, waiting before filling the jars, and making sure every spoonful had plenty of fruit. Those simple tips turned an ordinary strawberry jam into something much better.
I started making this strawberry jam recipe of Mary Berry every summer at home during strawberry season when the shops were full of bright British berries.
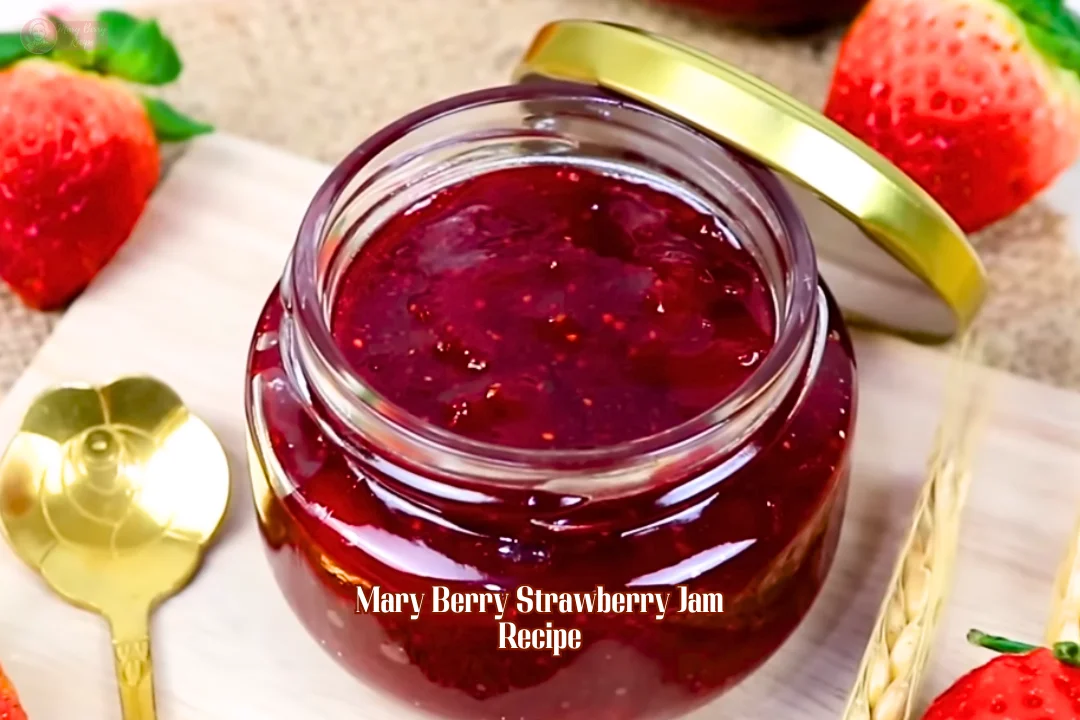
After one batch, I understood why so many people return to this recipe year after year. The jam has a fresh strawberry flavour, a lovely glossy finish, and a texture that spreads beautifully.
The best part is that it doesn’t ask for anything fancy. Just fruit, sugar, lemon, and a bit of patience. If you’re making it for the first time, you’re in for a treat.
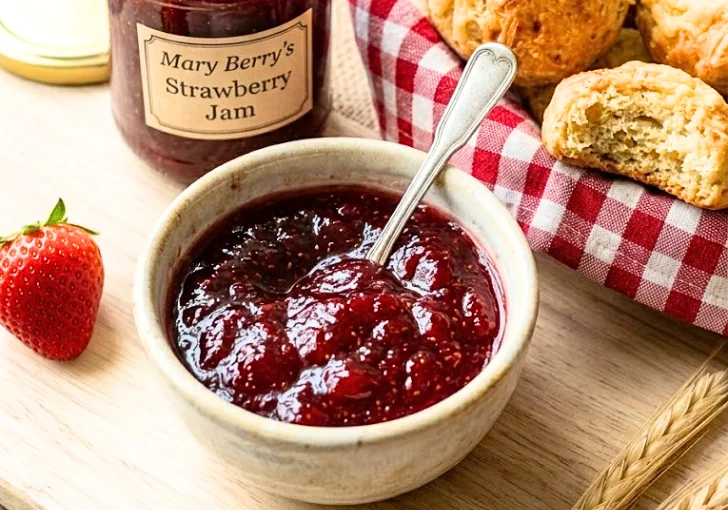
You can Serve this Mary Berry strawberry jam recipe on warm toast, fresh scones, or tuck a generous layer into a Victoria sponge.
Choosing The Best Strawberries To Make This Jam
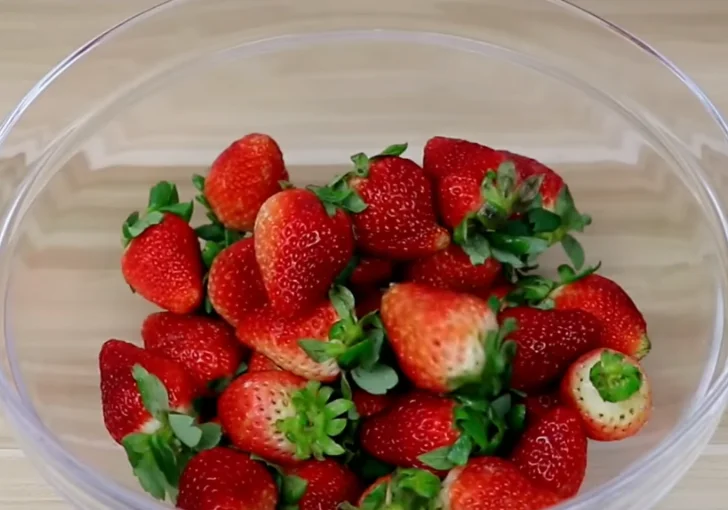
I have made this jam with both very ripe strawberries and slightly underripe strawberries, and the slightly underripe ones always give me better results.
They contain more natural pectin, which helps the jam set properly without extra effort.
I look for strawberries that are firm, bright red, and full of flavour. Very soft berries can still work, but the finished jam may be a little looser. If possible, choose fresh British strawberries during the season.
They bring a lovely balance of sweetness and flavour that works perfectly in homemade jam.
Do I Need Pectin To Make Mary Berry Strawberry Jam
No, you do not need to use packaged pectin to make Mary Berry Strawberry Jam. This recipe uses jam sugar, which already contains added pectin and helps the jam set well.
I have tested homemade strawberry jam with and without added pectin. Using jam sugar makes the process much easier and gives consistent results every time. The lemon juice also helps with the setting process.
If you follow the recipe carefully and reach the setting point, you should get a lovely thick jam without needing extra pectin products.
Perfect For
Fresh toast in the morning – A spoonful on buttered toast makes breakfast feel simple and lovely.
Warm scones with clotted cream – This jam sits beautifully on soft scones and gives you that proper tea-time feel.
Crumpets straight from the toaster – Let it melt into the holes for a sweet, sticky bite.
Victoria sponge cakes – It adds a bright fruit layer that works so well in a classic homemade cake.
Natural yoghurt or porridge – Stir in a little for extra flavour without any fuss.
Afternoon tea bakes – Use it in tarts, sandwich cakes, or little sponge slices for a homemade touch.
Mary Berry Strawberry Jam Ingredients
1kg Strawberries – Fresh strawberries bring the main flavour and colour. Slightly underripe berries work especially well because they help the jam set more easily while keeping a bright fruit taste.
Juice of 1 Lemon – Lemon juice balances the sweetness and supports the setting process. It also helps keep the flavour fresh and lively.
1kg Jam Sugar – Jam sugar contains added pectin, which helps create the perfect jam texture. It gives a reliable set and makes homemade jam easier to prepare.
Equipment Needed
- Large preserving pan or large heavy-based saucepan
- Wooden spoon or heatproof spoon
- Cold plate (chilled in the fridge)
- Sterilised jam jars with lids
How To Make Mary Berry Strawberry Jam
Step 01 – Prepare the Strawberries
Wash the strawberries and remove the hulls. If any strawberries are particularly large, cut them in half so the fruit pieces are not too big in the finished jam. Slightly underripe strawberries are preferred because they help produce a better set than very ripe fruit.
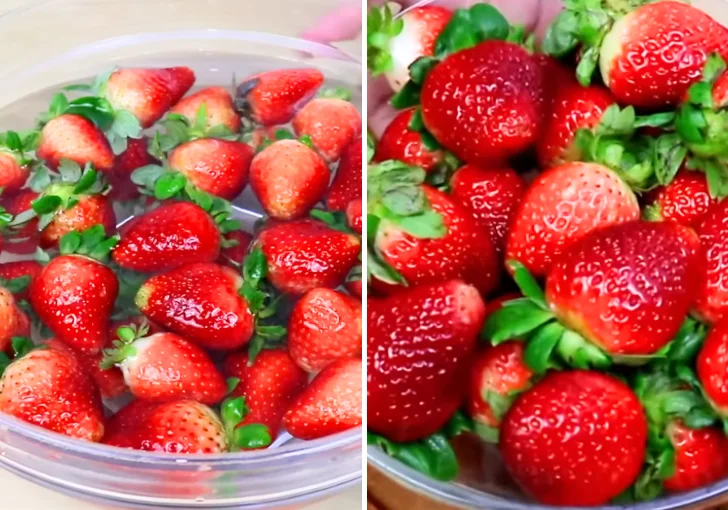
Step 02 – Start Softening the Fruit
Place the prepared strawberries into a large pan. Add the juice of 1 lemon and set the pan over a low heat. Allow the fruit to warm gently and begin breaking down. Stir occasionally as the strawberries soften and release their juices.
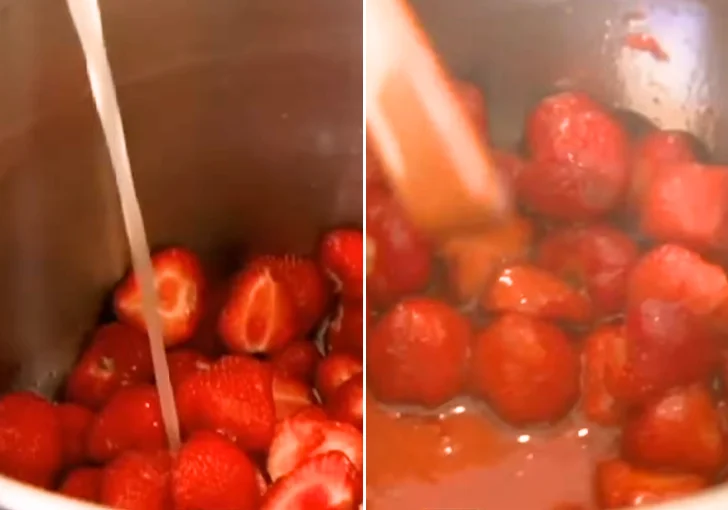
Step 03 – Add the Jam Sugar
Once the strawberries have softened and started to break down, add the 1kg of jam sugar. Stir continuously over the low heat until all of the sugar has completely dissolved. Make sure no sugar crystals remain before increasing the heat.
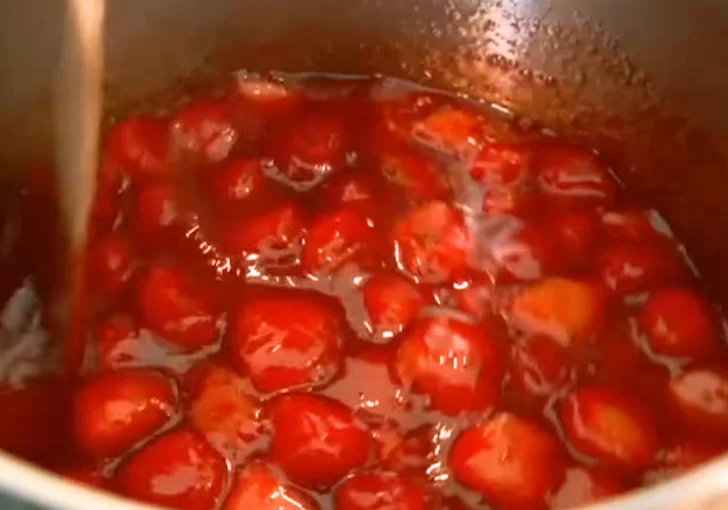
Step 04 – Boil the Jam
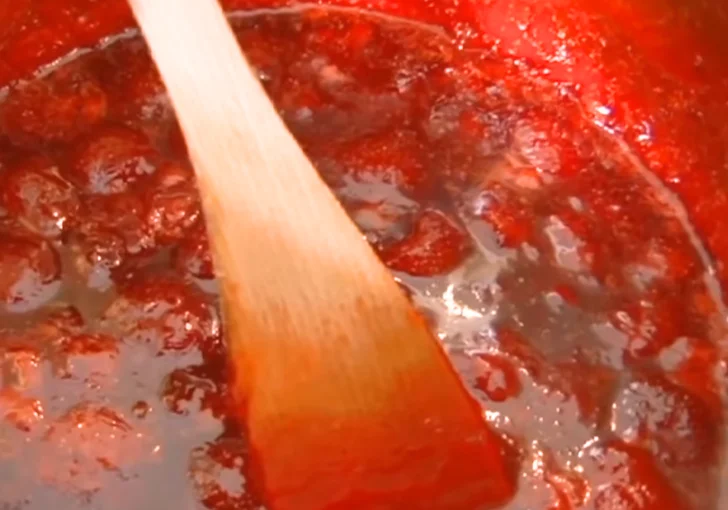
Turn the heat up and bring the mixture to a rapid rolling boil. Boil vigorously for 5–6 minutes, stirring as needed to prevent sticking. The jam should become glossy and slightly thicker as it cooks.
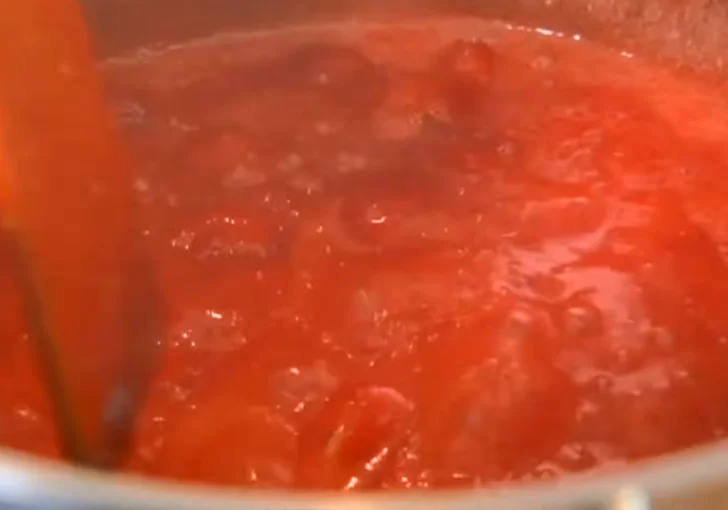
Step 05 – Test for Setting Point
Place a small spoonful of jam onto a cold plate and put it into the fridge for about 2 minutes. Remove the plate and push the edge of the jam gently with your finger. If the surface wrinkles or ripples, the jam has reached setting point and is ready to be removed from the heat.
Step 06 – Rest the Jam
Take the pan off the heat and give the jam a good stir. Leave it to stand for at least 10 minutes. During this resting time, stir occasionally and check that the fruit remains evenly suspended throughout the mixture. This step helps prevent the fruit from floating to the top of the jars and ensures an even distribution of fruit in the finished jam.
Step 07 – Fill the Jars
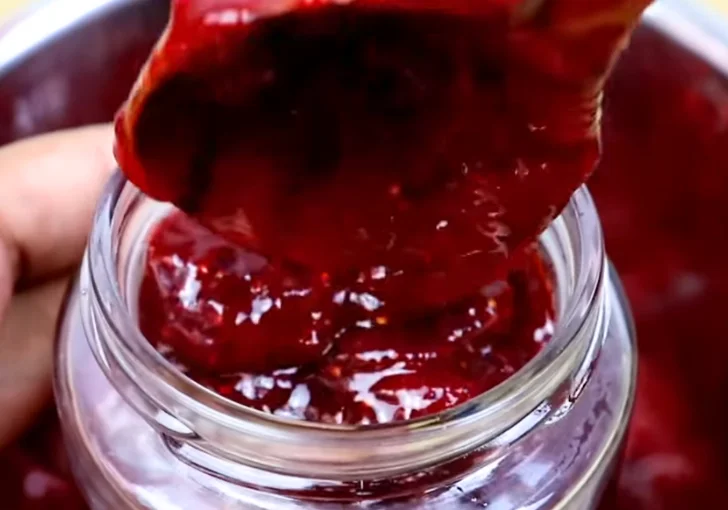
Carefully pour the jam into warm, sterilised jars. Seal immediately with clean lids. Allow the jars to cool completely before storing.
Can You Make Strawberry Jam Without Jam Sugar
Yes, you can make strawberry jam without jam sugar, but the texture may be different.
If you use ordinary granulated sugar, you may need extra pectin or longer cooking time. The jam can still taste wonderful, but getting the right consistency can take a little more work.
For beginners, I always suggest using jam sugar because it removes much of the guesswork and helps create a smooth, spreadable strawberry jam.
Little Things That Help This Jam Turn Out Right
Use slightly underripe strawberries. They give you a better set and a brighter flavour.
Chill your test plate before you start. A cold plate helps you check the setting point properly.
Dissolve the sugar fully before boiling. If you rush this part, the jam can turn grainy.
Keep the lemon juice in. It helps the jam set and lifts the flavour too.
Stir often, but not too much once it starts boiling. You want to stop sticking, not break the fruit down too far.
Let the jam rest before you jar it. This helps the fruit stay evenly spread through the jars.
Use clean, sterilised jars every time. It keeps the jam safe and helps it last longer.
Fill the jars while the jam is still hot. That gives you the best seal.
Write the date on the lids or labels. It makes storage much easier later on.
Store the jars in a cool, dark cupboard. Once opened, keep them in the fridge and use a clean spoon each time.
What To Make & Eat With This Mary Berry Strawberry Jam
A spoonful of this jam can brighten many simple foods. I enjoy spreading it over buttered toast in the morning or serving it with freshly baked scones.
This jam also works beautifully in sponge cakes, Swiss rolls, and jam tarts. A small amount stirred into yoghurt creates a quick fruity snack.
Some people enjoy it over pancakes or waffles, while others use it in baking. The fresh strawberry flavour pairs nicely with cream, soft cheeses, and warm pastries.
Keeping a jar in the cupboard means you always have something sweet ready for breakfast or afternoon tea.
Strawberry Jam Preservation Method
Good storage starts with clean, sterilised jars. I always wash jars thoroughly and heat them before filling. Warm jars reduce the risk of cracking when hot jam is added.
Fill each jar while the jam is still hot and seal immediately with clean lids. Once cooled, store the jars in a cool, dark place away from direct sunlight. Properly sealed jars can last for up to one year.
After opening a jar, keep it in the refrigerator. Always use a clean spoon when serving to prevent contamination.
If you notice mould, unusual smells, or changes in texture, discard the jam straight away. Following these simple steps helps keep homemade strawberry jam safe and delicious for months.
Mary Berry Strawberry Jam Recipe FAQs
Can I use frozen strawberries for this recipe?
Yes, frozen strawberries work quite well. Allow them to thaw first and drain any excess liquid. The flavour remains very good, although the fruit pieces may become softer than fresh strawberries. The final jam still turns out tasty and enjoyable.
Why should I use slightly underripe strawberries?
Slightly underripe strawberries contain more natural pectin than fully ripe fruit. This helps the jam set more easily. I find they also provide a lovely balance between sweetness and fresh fruit flavour in the finished preserve.
What does lemon juice do in strawberry jam?
Lemon juice helps the jam reach a proper set by supporting the pectin. It also balances the sweetness and gives the finished jam a brighter flavour. It is an important ingredient and should not be left out.
How do I know when the jam has reached setting point?
The chilled plate test is the easiest method. Place a small spoonful of jam on a cold plate and chill briefly. Push it gently with your finger. If the surface wrinkles, the setting point has been reached.
Can I reduce the sugar in this recipe?
Reducing the sugar may affect both the texture and shelf life. Sugar helps preserve the jam and contributes to the setting process. For best results, follow the original measurements.
How long does homemade strawberry jam last?
When stored in properly sterilised and sealed jars, the jam can last for up to one year in a cool, dark place. Once opened, keep it refrigerated and use within a few weeks.
Why is my jam too runny?
A runny jam often means it did not reach the correct setting point. It may also happen if the fruit contained too much moisture or if the boiling time was too short.
Why do the fruit pieces float to the top?
This can happen if the jam is poured into jars immediately after cooking. Allowing the jam to rest for around 10 minutes helps keep the fruit evenly distributed throughout the jar.
Mary Berry Strawberry Jam Recipe (3 Ingredient & No Pectin)
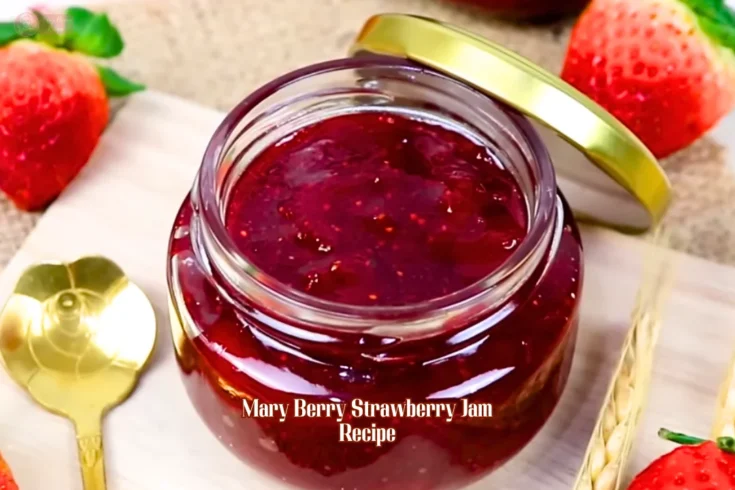
Mary Berry Strawberry Jam Recipe is a simple homemade preserve made with fresh strawberries, lemon juice, and jam sugar. I love how this recipe gives a bright strawberry flavor, a beautiful set, and plenty of fruit in every spoonful. Ready in about 40 minutes, it's an easy recipe for beginners and experienced home cooks alike. This classic strawberry jam stores well and tastes wonderful for months. Serve it on toast, spoon it over scones, or spread it into your favorite sponge cake.
Ingredients
- 1kg strawberries, slightly underripe if possible
- Juice of 1 lemon
- 1kg jam sugar (with added pectin)
Equipment
- Large preserving pan or large heavy-based saucepan
- Wooden spoon or heatproof spoon
- Cold plate (chilled in the fridge)
- Sterilised jam jars with lids
Instructions
- Prepare the Strawberries: Wash the strawberries and remove the hulls. If any strawberries are particularly large, cut them in half so the fruit pieces are not too big in the finished jam. Slightly underripe strawberries are preferred because they help produce a better set than very ripe fruit.
- Start Softening the Fruit: Place the prepared strawberries into a large pan. Add the juice of 1 lemon and set the pan over a low heat. Allow the fruit to warm gently and begin breaking down. Stir occasionally as the strawberries soften and release their juices.
- Boil the Jam: Turn the heat up and bring the mixture to a rapid rolling boil. Boil vigorously for 5–6 minutes, stirring as needed to prevent sticking.
- Add the Jam Sugar: Once the strawberries have softened and started to break down, add the 1kg of jam sugar. Stir continuously over the low heat until all of the sugar has completely dissolved.
- Test for Setting Point: Place a small spoonful of jam onto a cold plate and put it into the fridge for about 2 minutes. Remove the plate and push the edge of the jam gently with your finger.
- Rest the Jam: Take the pan off the heat and give the jam a good stir. Leave it to stand for at least 10 minutes. During this resting time, stir occasionally and check that the fruit remains evenly suspended throughout the mixture.
- Fill the Jars: Carefully pour the jam into warm, sterilised jars. Seal immediately with clean lids. Allow the jars to cool completely before storing.
- Store the Jam: When stored in properly sterilised, sealed jars, the jam will keep for up to 1 year in a cool, dark place. Once opened, store in the refrigerator and use within a few weeks.
Nutrition Information:
Serving Size:
1 tablespoon (20g)Amount Per Serving: Calories: 52Carbohydrates: 13gSugar: 12g
I always enjoy making this Mary Berry Strawberry Jam Recipe because it turns a few simple ingredients into something truly lovely.
The flavour is fresh, sweet, and full of real strawberry goodness. It is the sort of recipe that feels rewarding every time you make it.
A jar on the shelf brings a little homemade touch to breakfasts, baking, and afternoon tea.
I hope you give this Mary Berry Strawberry Jam a go in your own kitchen and enjoy every spoonful.